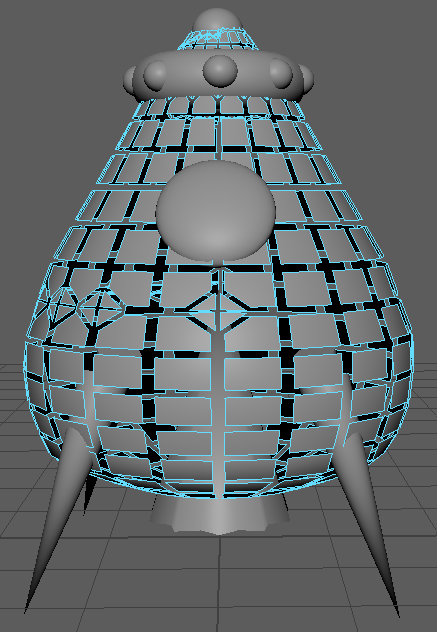
The model has now been placed in the vertex face mode to check that all faces and edges are in the correct position and that nothing looks out of place or distorted.
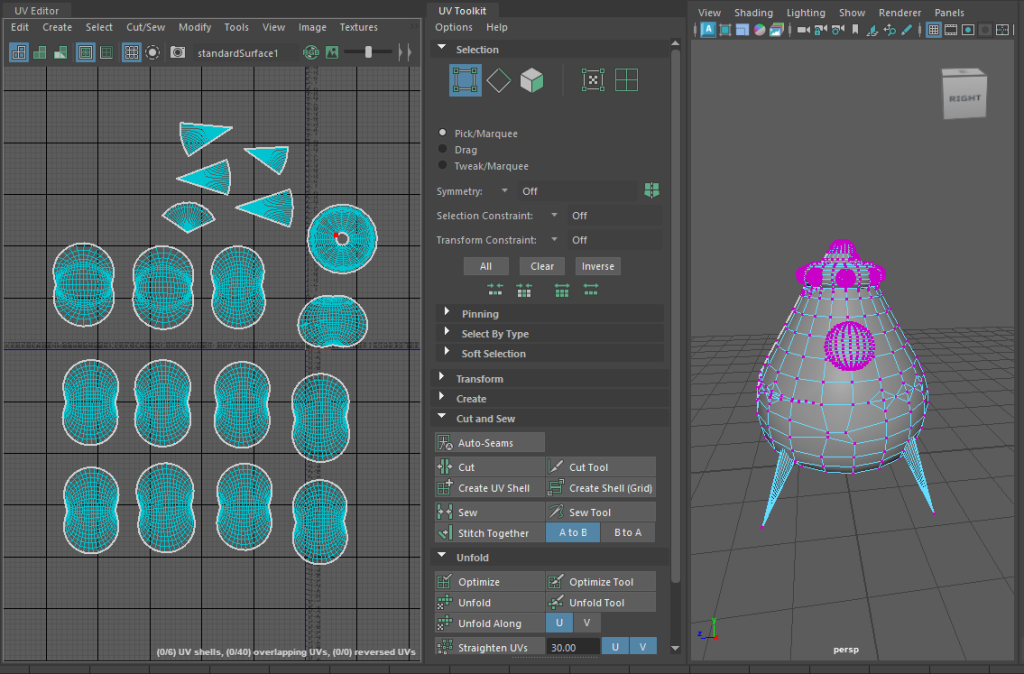
Once the vertex faces had been checked, the UV maps can be developed. There was an option to automatically create the UV maps, but this screenshot is the aftermath of manually cutting and unfolding each object. The UVs were then laid out and exported, ready for texturing.
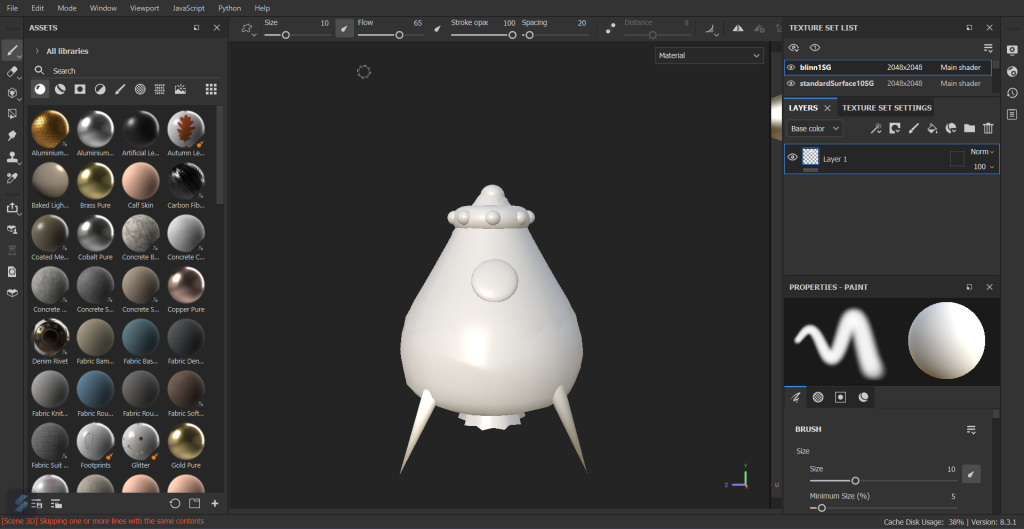
After importing the UV maps into Adobe Substance 3D Painter, this is how it looked, everything worked beautifully. Each object had their own layer, so it was very easy to add materials and textures without them bleeding over to a different section of the model.
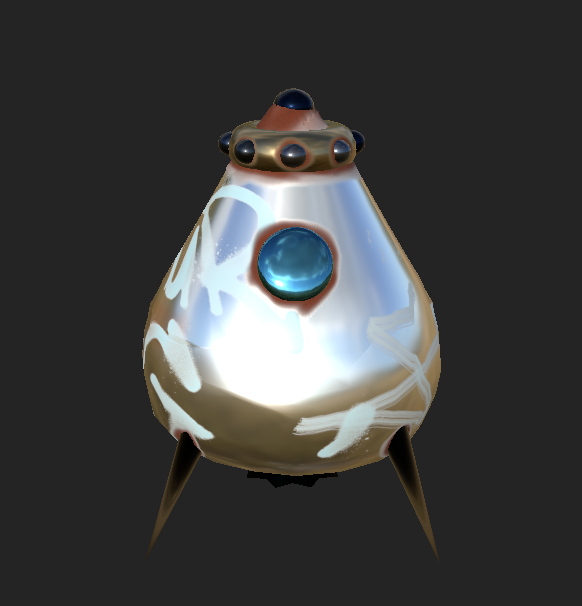
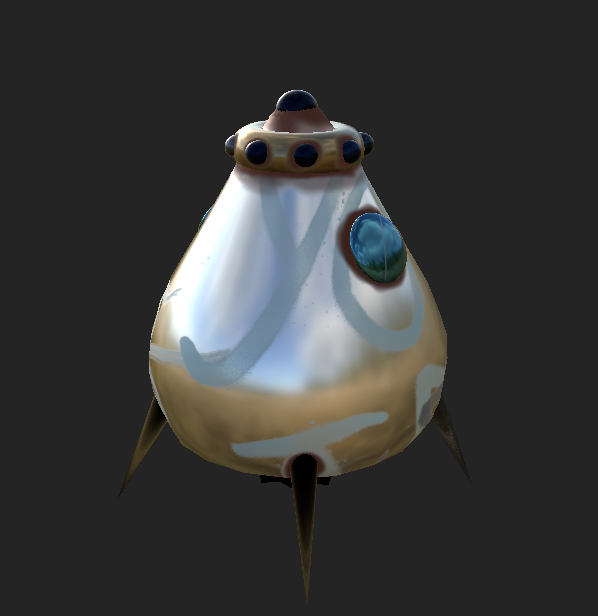
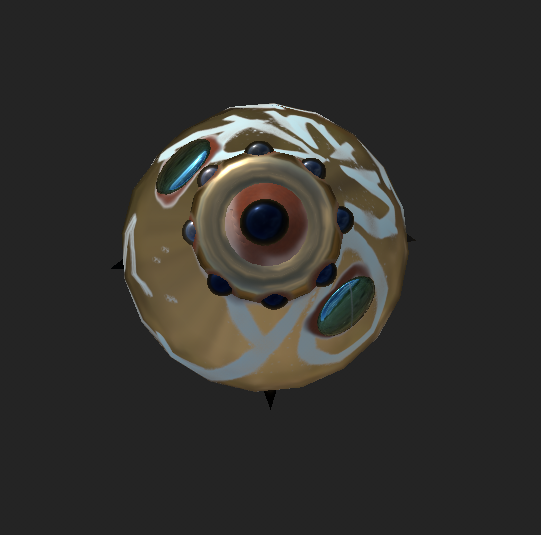
After experimenting with different textures and add-ons, this was the result created. The design is very metallic with rust painted around the top and legs. The rust, dents and added graffiti gave the illusion that this escape pod had been abandoned.
After finalising the texturing, it was time to export them and import them back into Maya. This step was complicated as the textures had to be added through different layers, the colour, metallic, roughness and bump mapping.
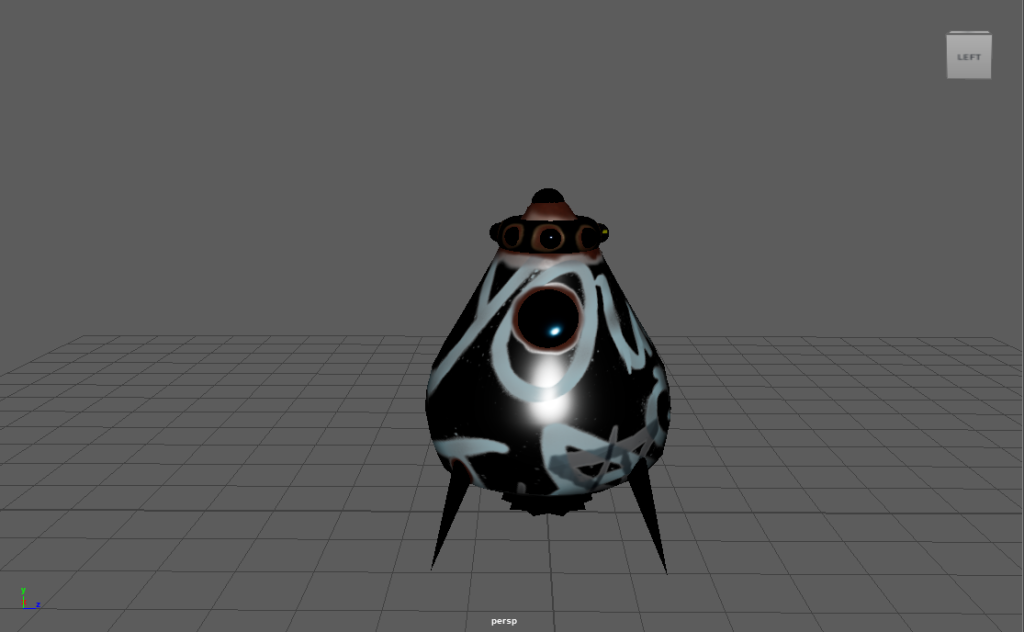
This was the result after importing the textures back in, as you can see it doesn’t match the complete model in Substance Painter. Each step was followed, and lighting was added but unfortunately, this could not be resolved.