HTML, CSS & Codepen
This blog post includes some basic steps on how to insert Hyper Text Markup Language, better known as HTML. In the brief we were given a simple code to input into our WordPress site.
The HTML:
<style>
/* unvisited link */
a:link {
color: red;
}
/* visited link */
a:visited {
color: green;
}
/* mouse over link */
a:hover {
color: hotpink;
}
/* selected link */
a:active {
color: blue;
}
</style>
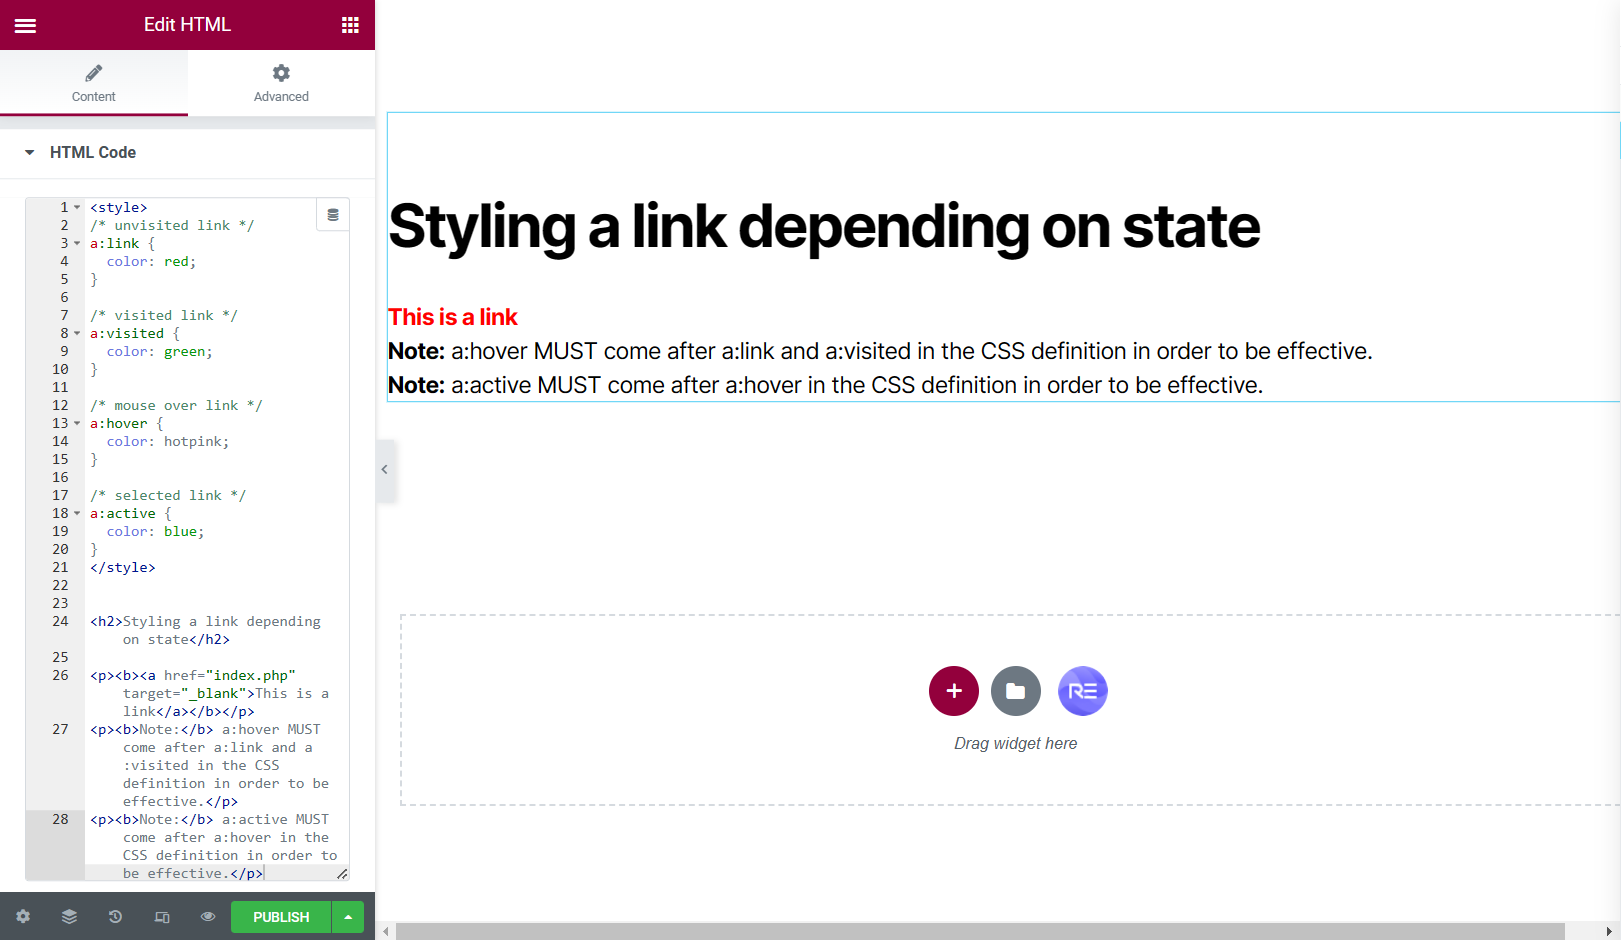
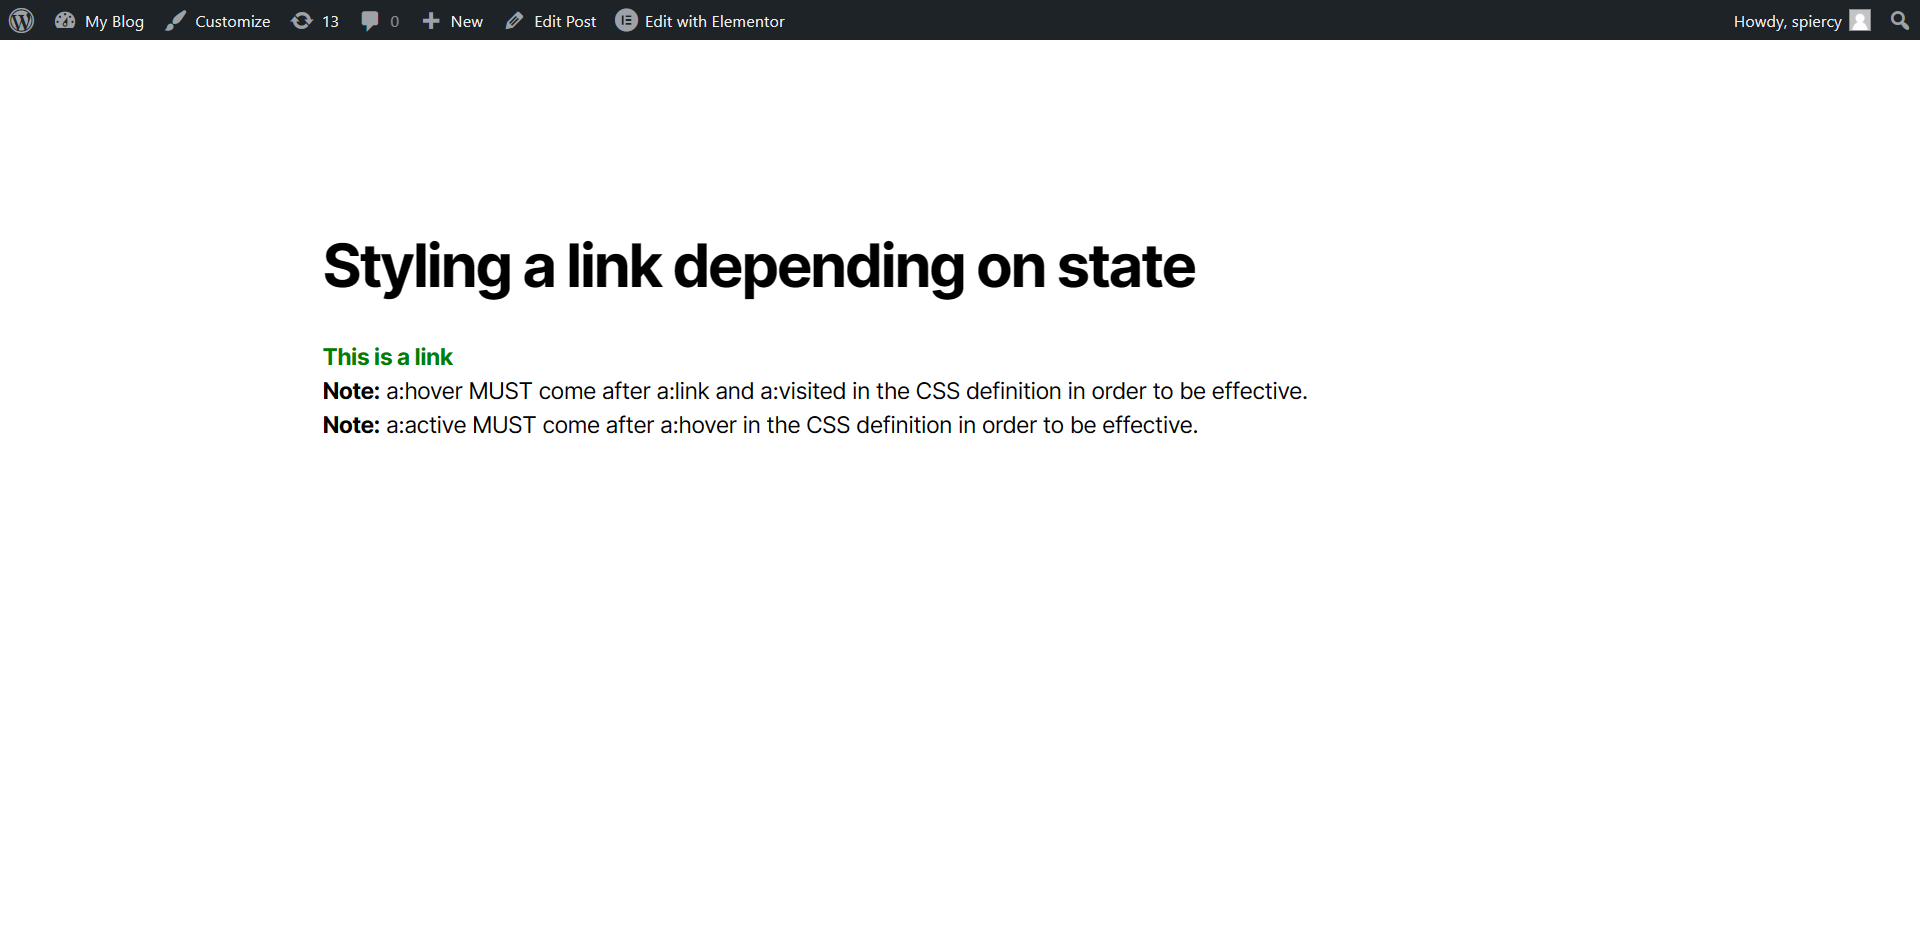
<h2>Styling a link depending on state</h2>
<p><b><a href=”index.php” target=”_blank”>This is a link</a></b></p>
<p><b>Note:</b> a:hover MUST come after a:link and a:visited in the CSS definition in order to be effective.</p>
<p><b>Note:</b> a:active MUST come after a:hover in the CSS definition in order to be effective.</p>
We were also instructed to add a HTML widget into our WordPress site so we could input the coding.
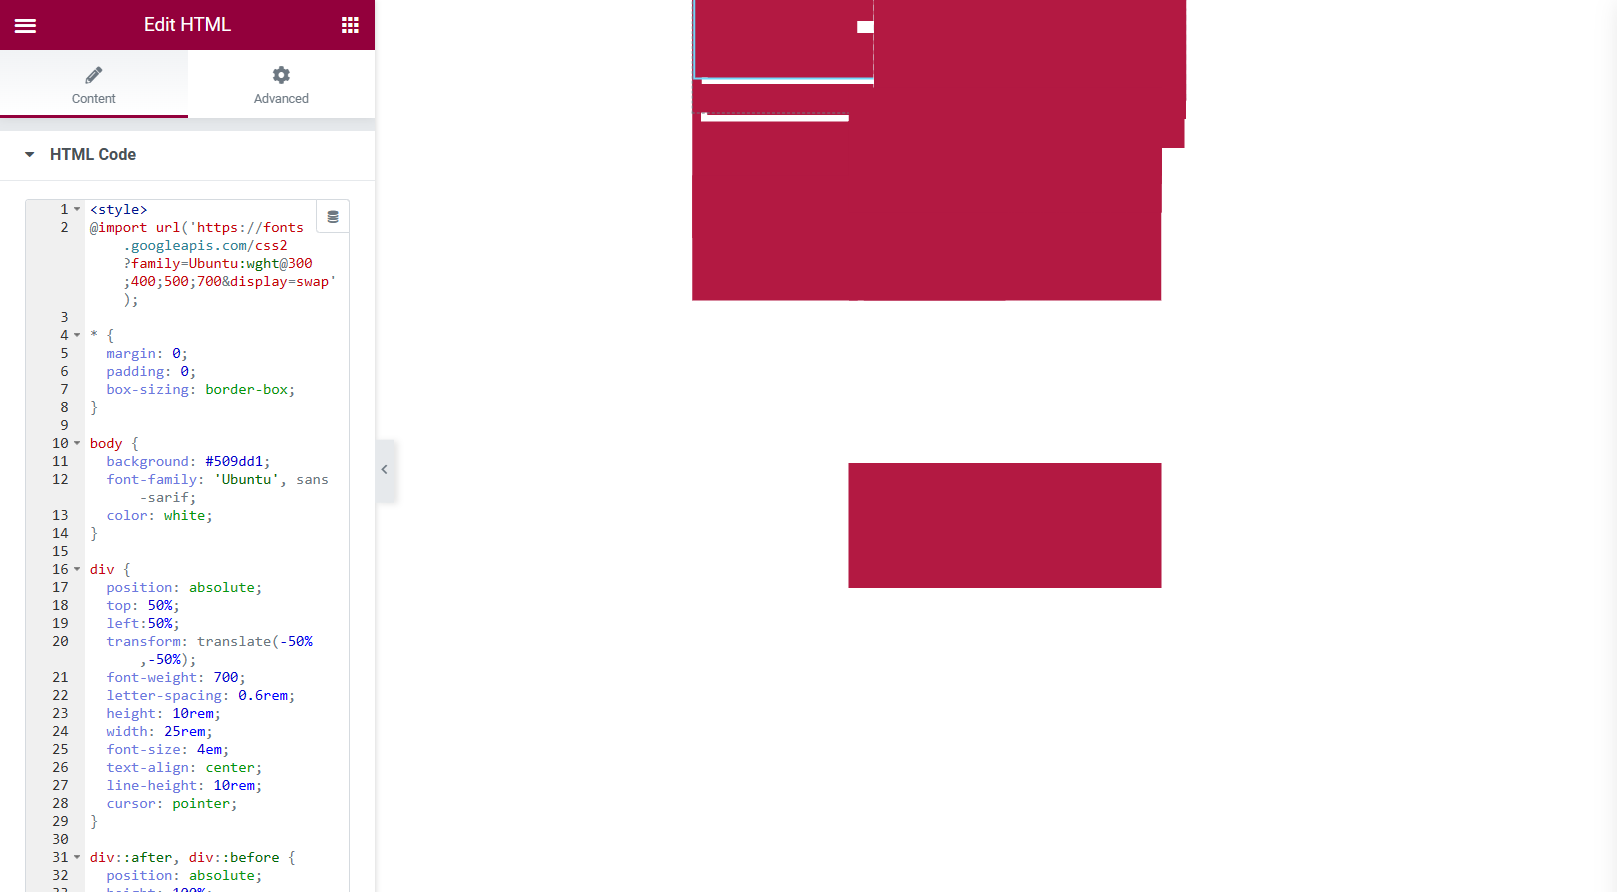
This was a very simple step-by-step task but then we delved deeper into CSS coding and animation, we were asked to look into a website called Codepen.
Codepen had some fantastic CSS animations, designed by frequent users. These animations also have the HTML, CSS and Java Script so i was able to use these animations within my own work.
The first example of me testing the HTML and CSS from a codepen designer shows the input of the coding and the preview of the blog post, testing to see if the HTML works.
Unfortunately, I couldn’t access BBedit from my home PC as instructed but I was still able to achieve the testing of certain animations using the HTML widget in Elementor.
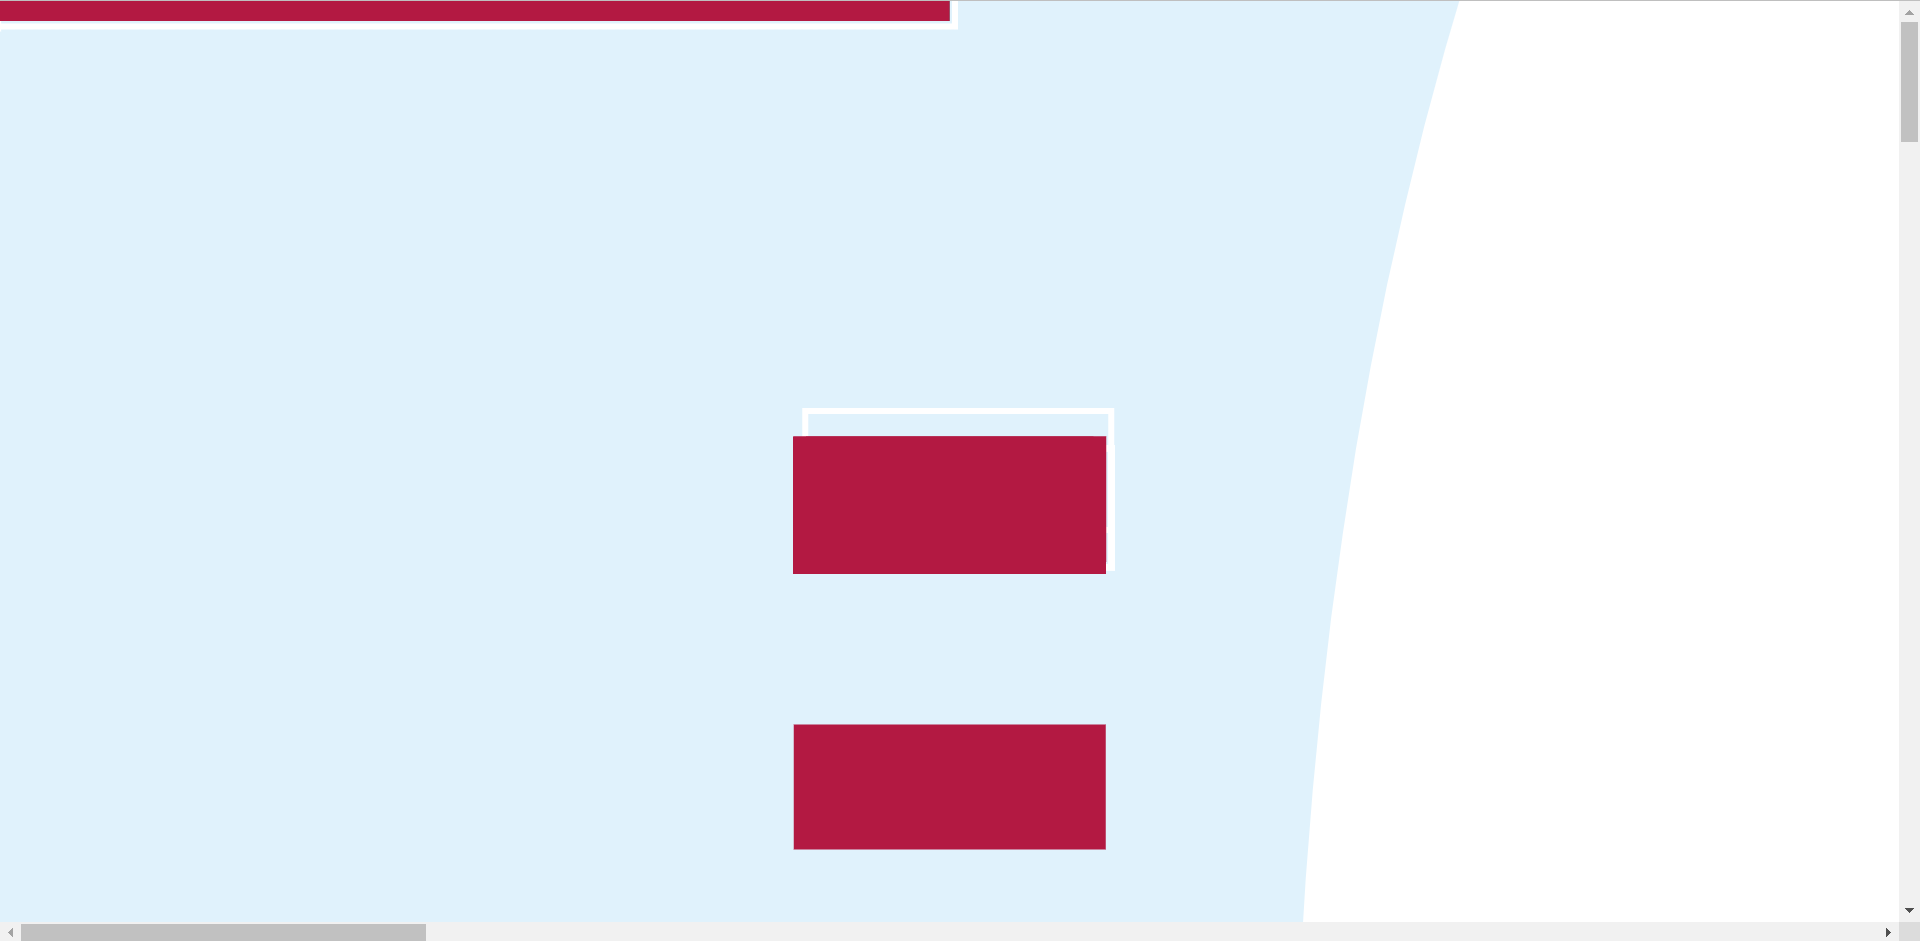
The animation was very simple but would bring a lot of life into buttons used throughout a website, the buttons shown do click and change tone of colour when the cursor is hovering over them. I didn’t have much hope for how it would look, judging by the first screen capture but once I preview the blog post I was rather happy with the results.
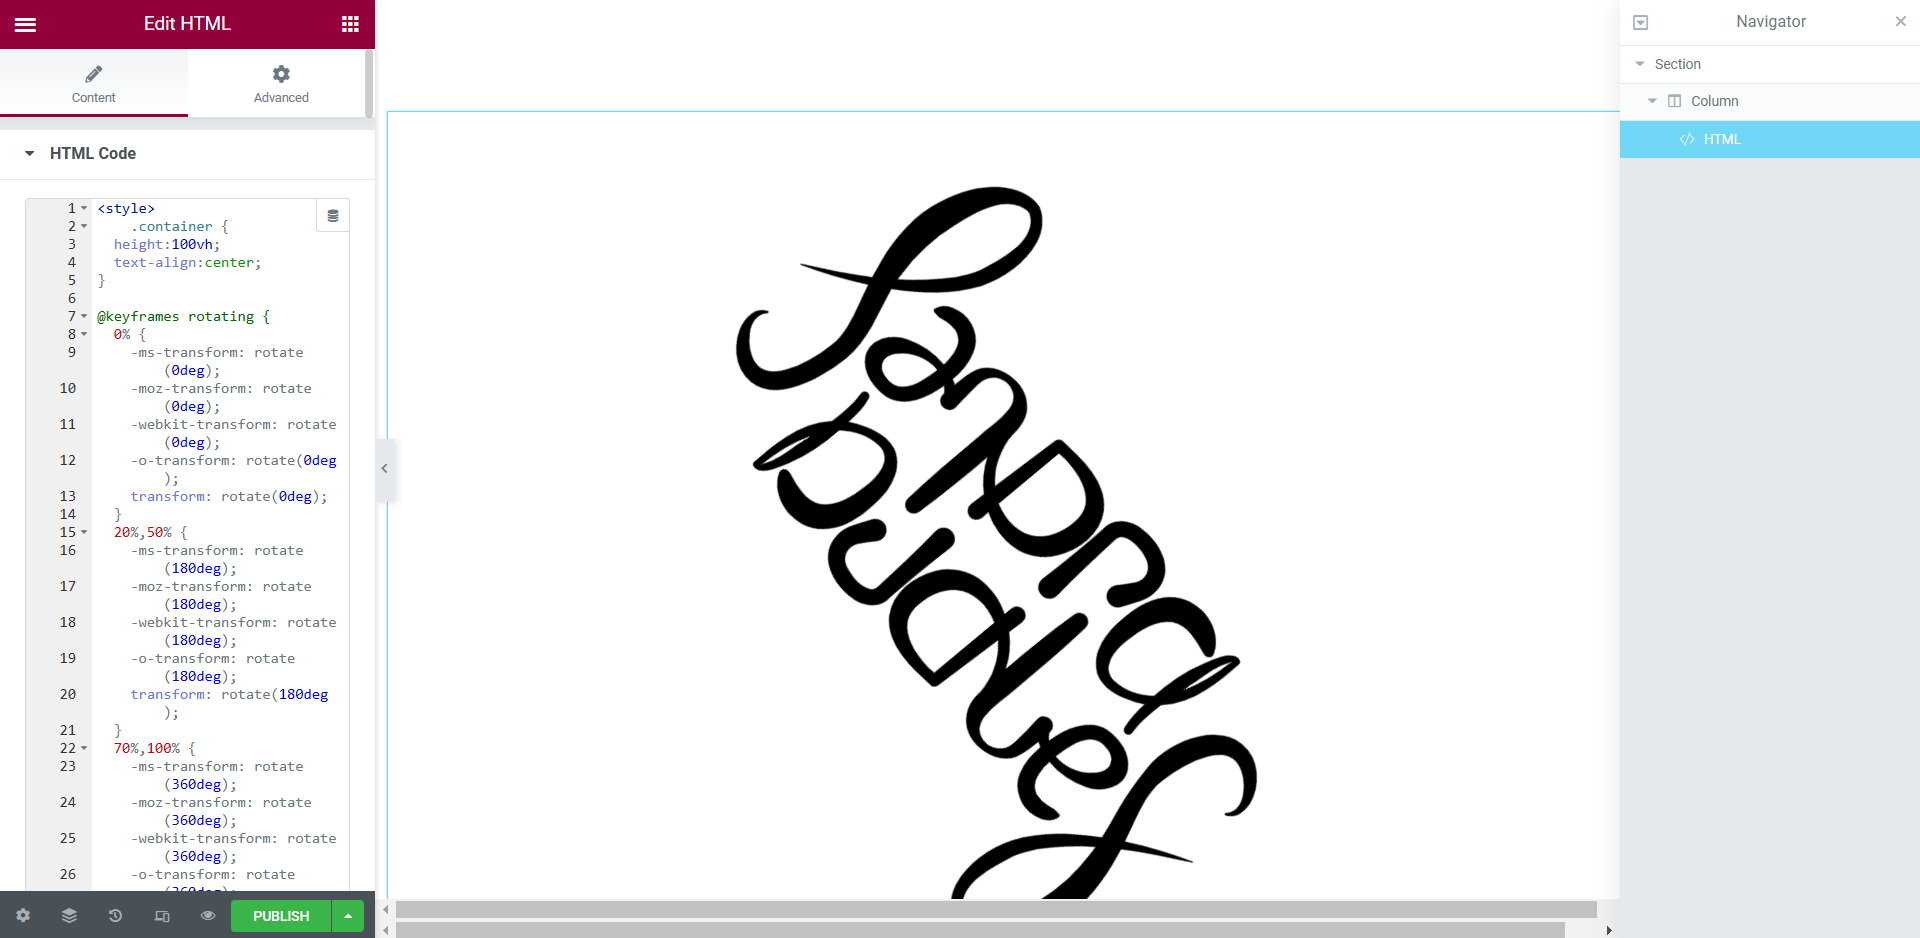
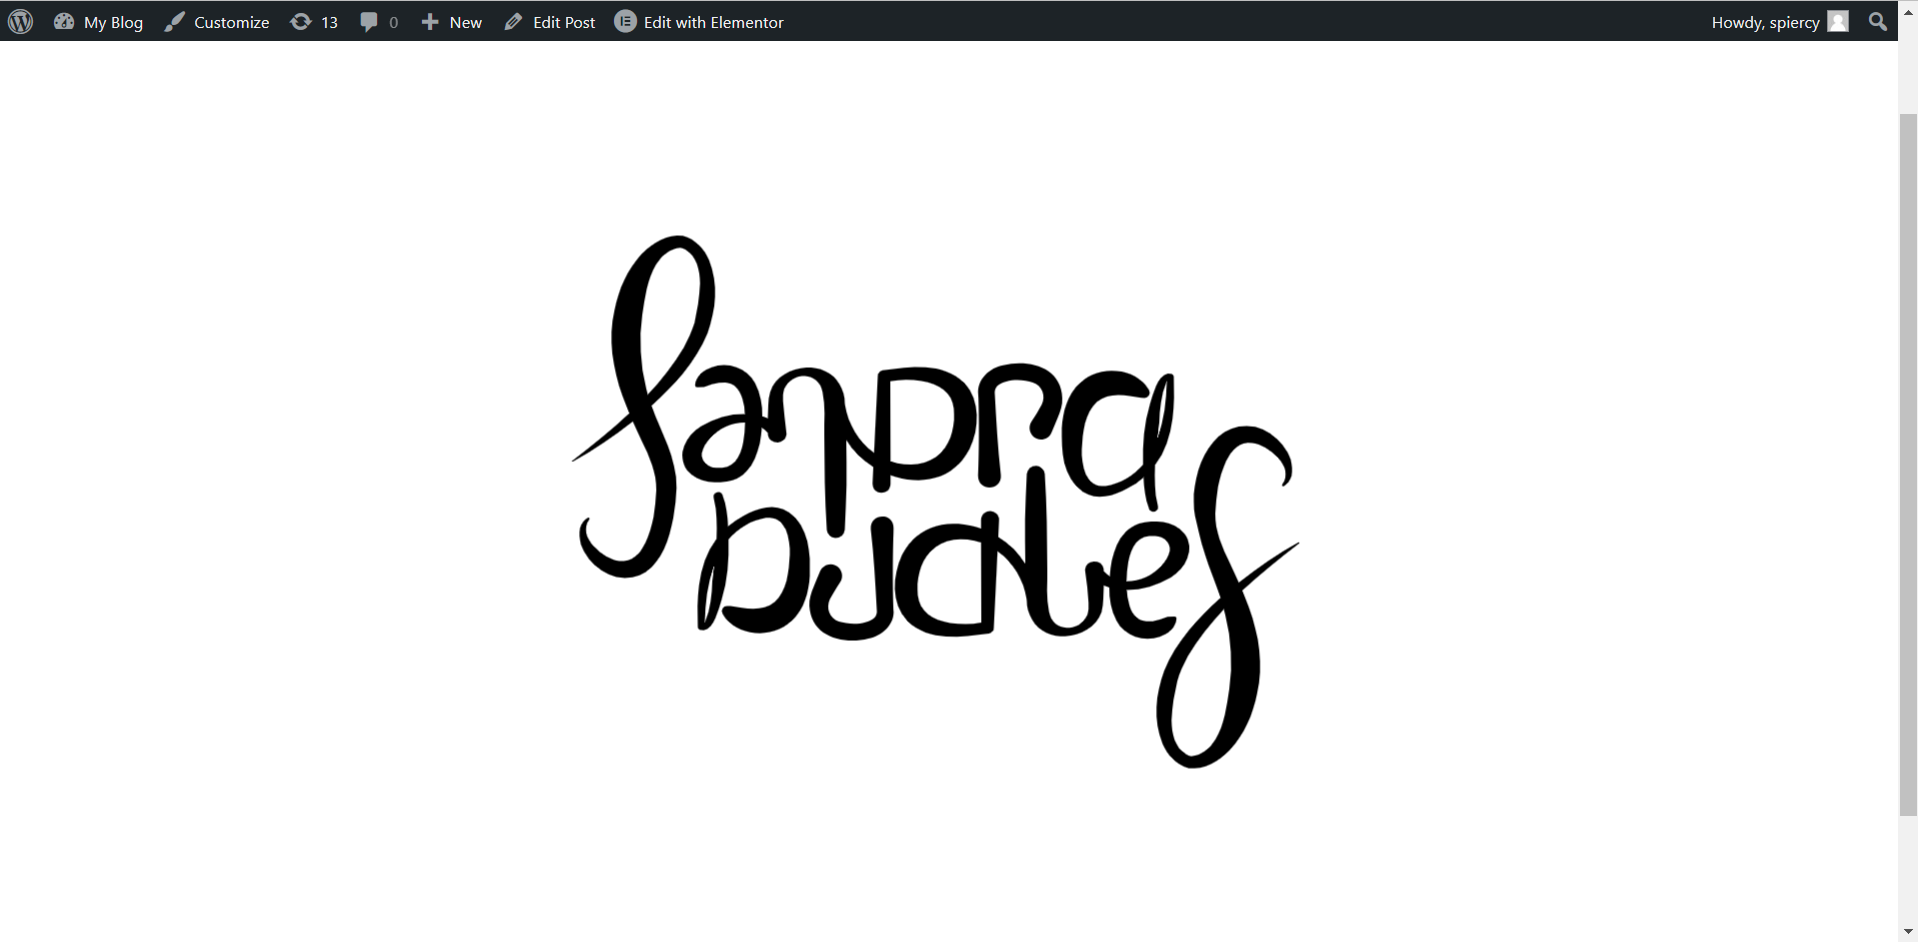
This was another example of an animation taken from the website ‘Codepen’. The logo spins around throughout the entire site and the preview screen showed the same thing, I really liked this style of HTML and it was very easy for me to input into the widget.
Next, I looked into adding HTML to my already designed website to see if it would dramatically alter the web design or if it looked suitable to keep on the design.
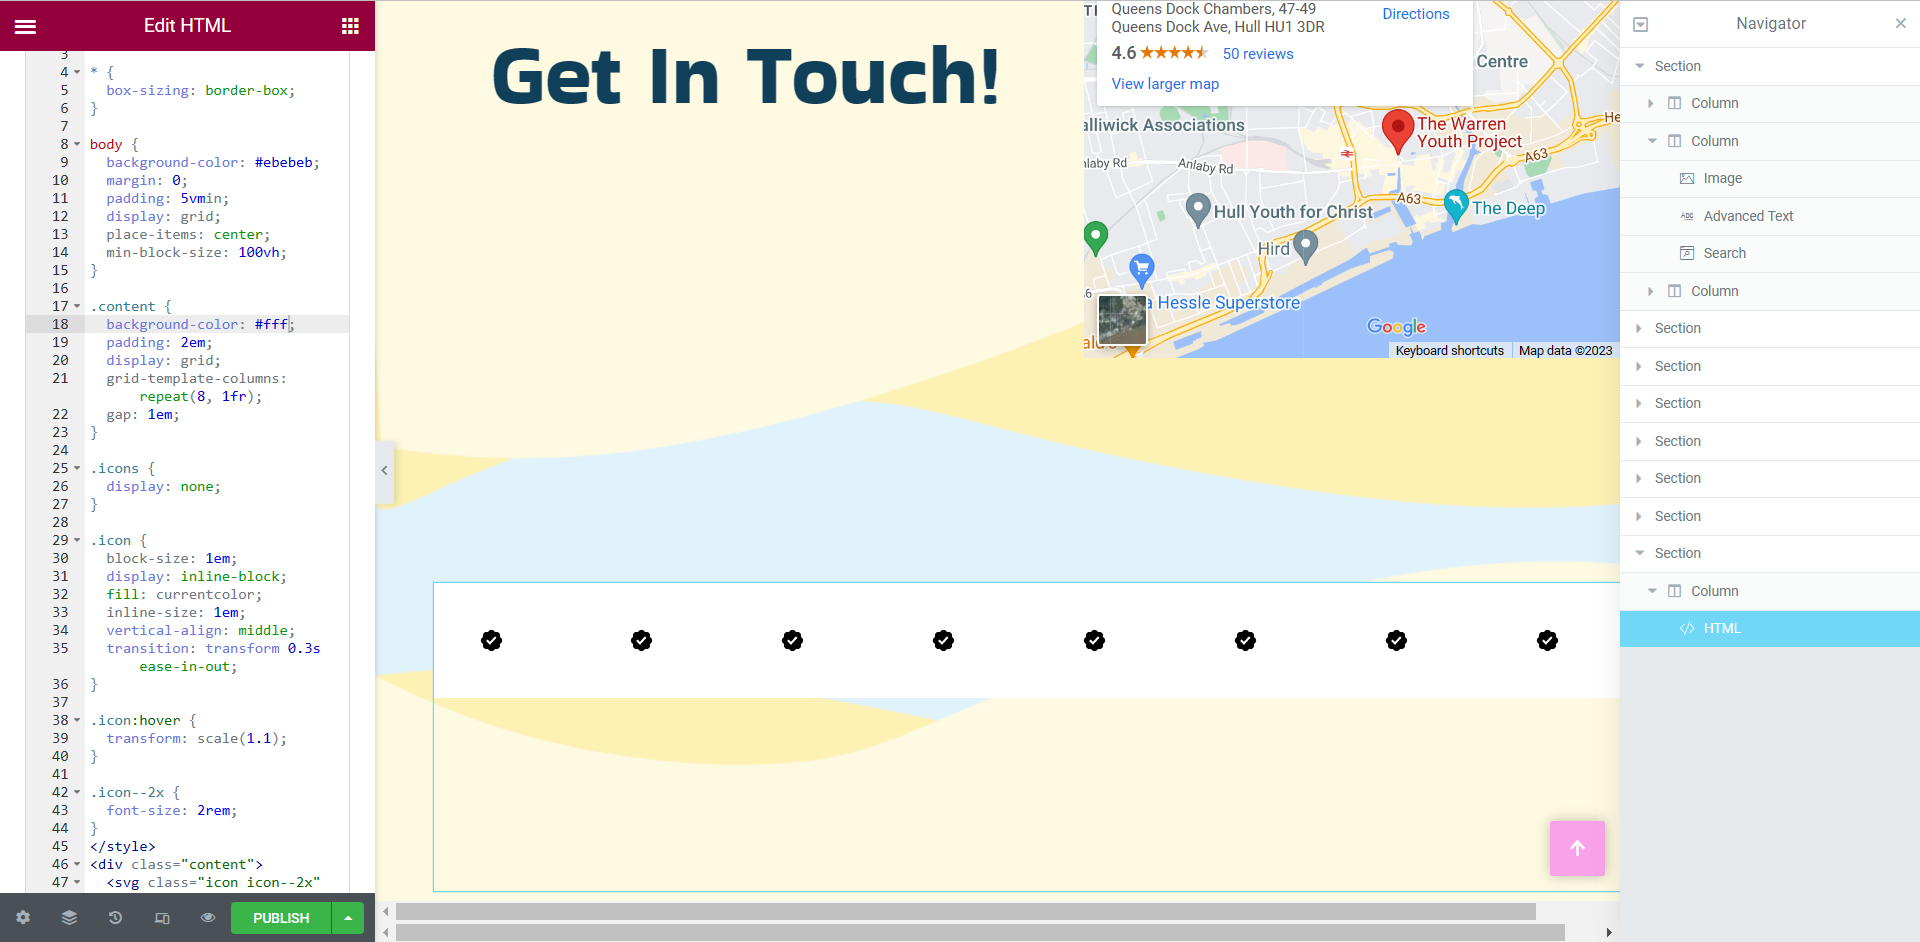
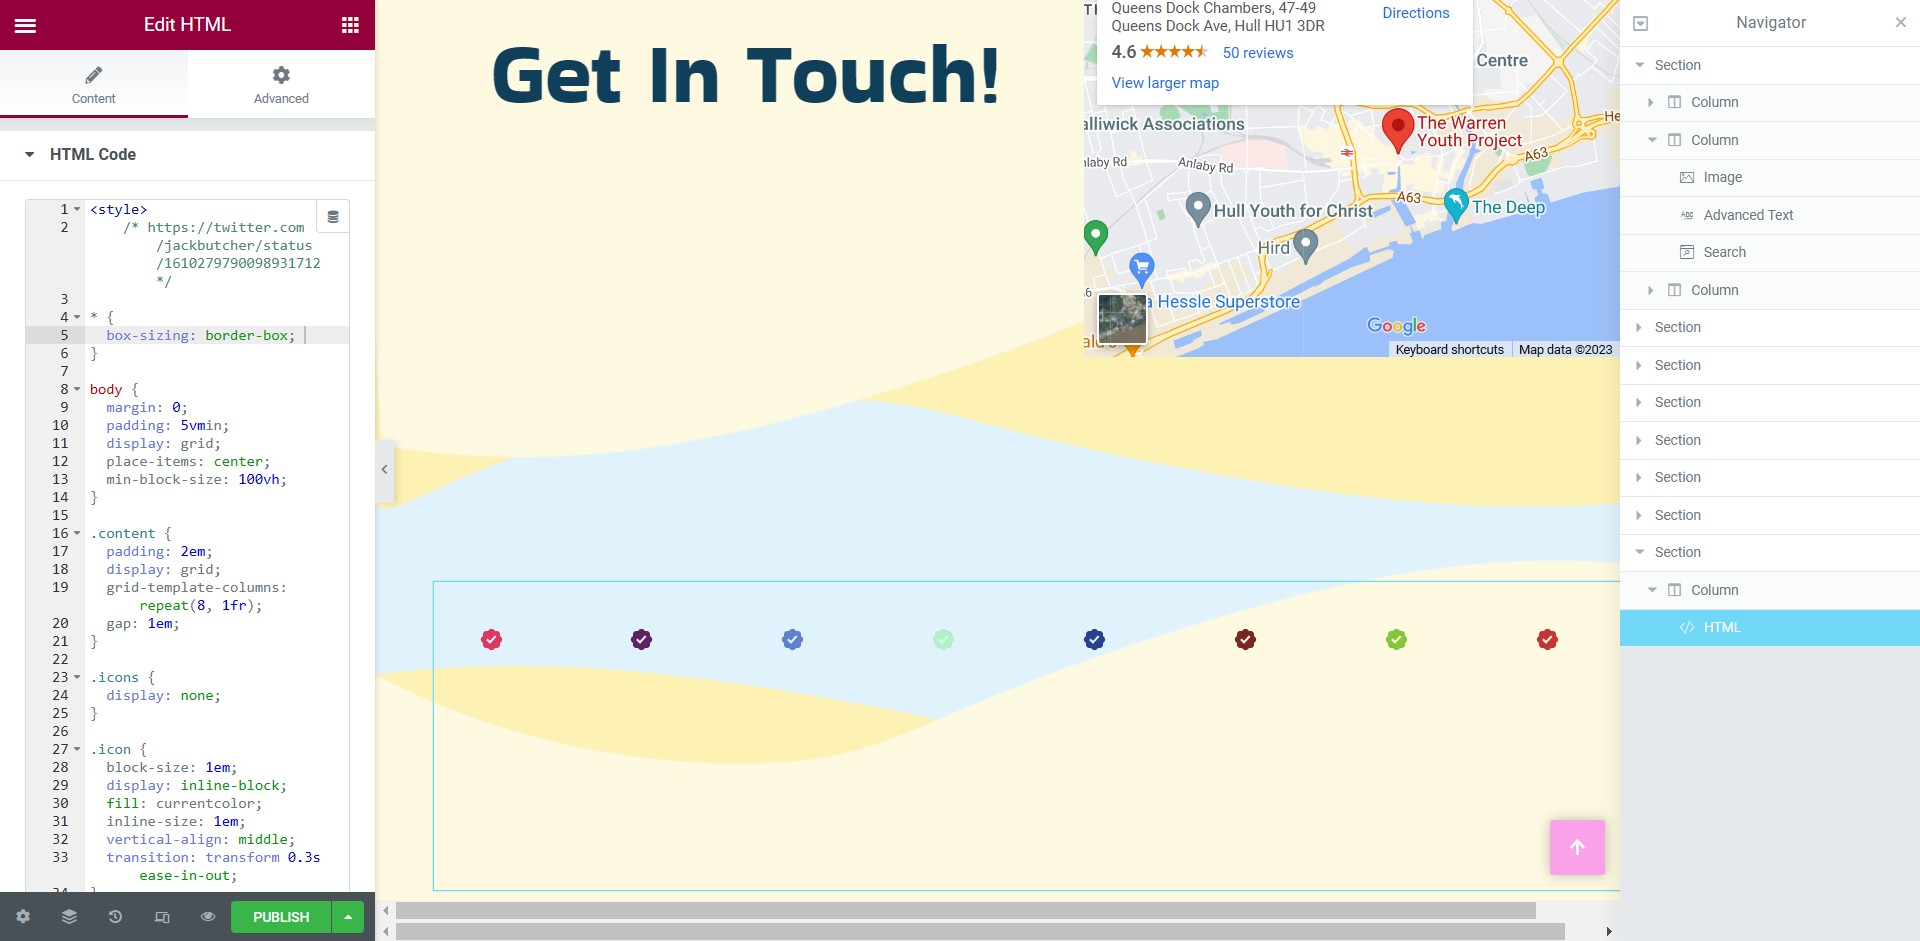
I started with something small and basic, just in case it did alter my web design drastically. I inserted the HTML and CSS into the widget on the left hand side but did not enjoy the look of the white background, it was quite the eyesore so I did some experimenting with the code and found a way to remove the white background. I was ecstatic with these results, the added HTML now looks professionally designed.
Google Chrome Experiments
It was a wonderful experience to test some of the designs within Google Chrome Experiments. To see how certain designers use web technology and creativity was inspiring. There were certain interactive animations that really stood out to me.
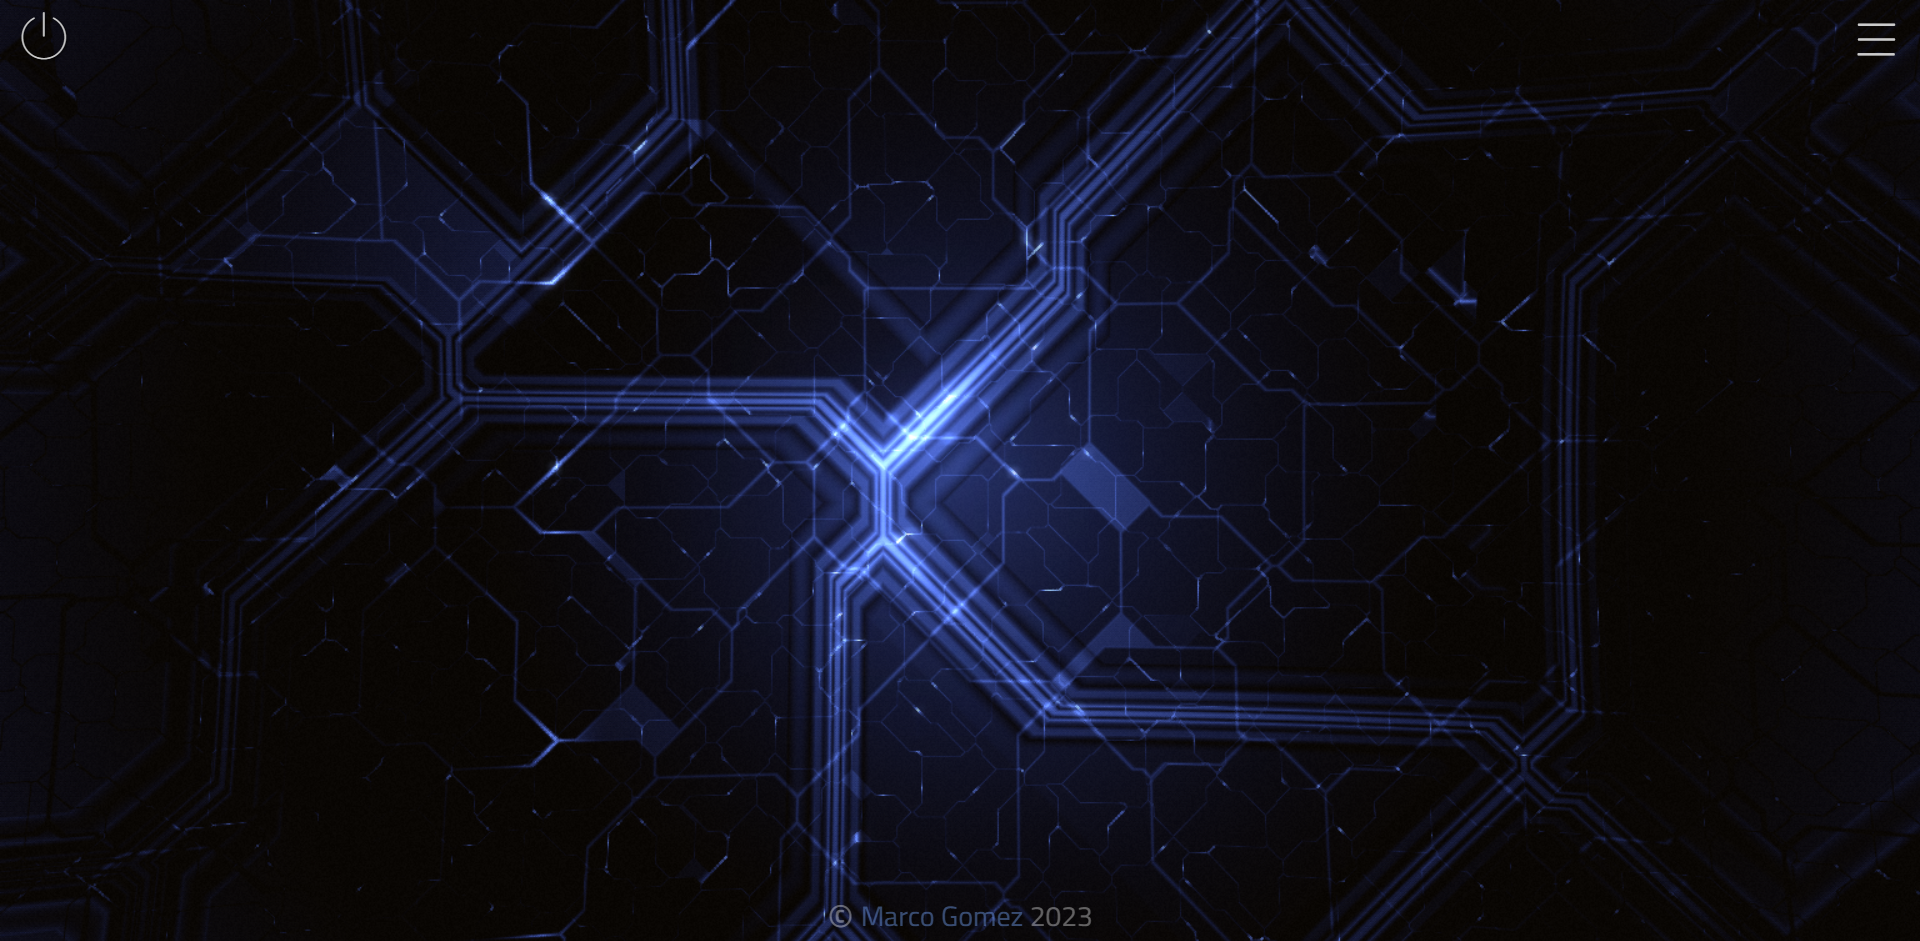
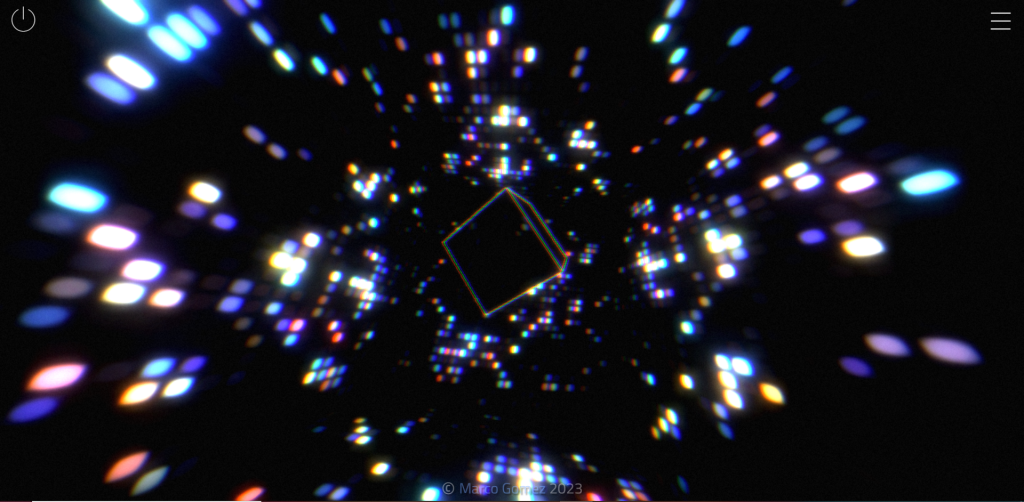
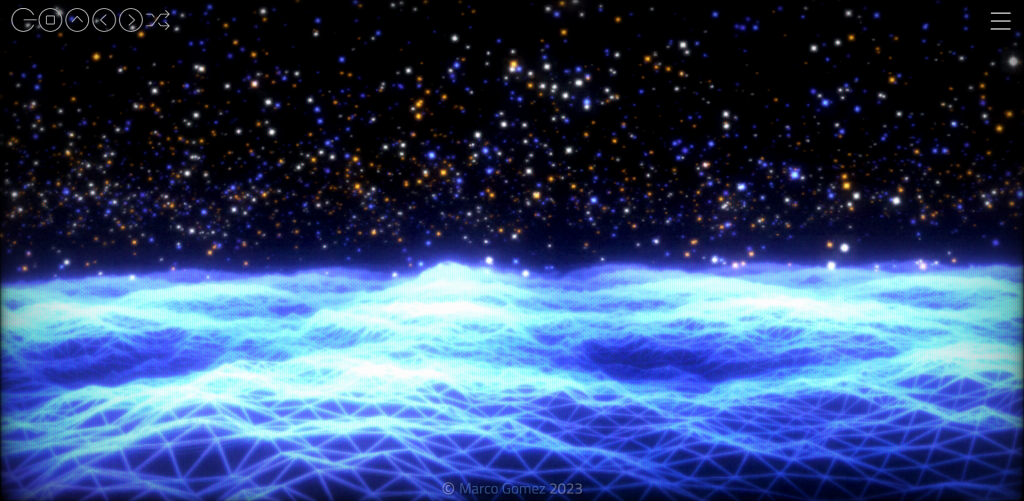
The first interactive animation I came across was the one you see above. It became interactive with the cursor and with a song that was attached to the animation, which could be played and paused. There were multiple scenes you could flick through but all of them had a very similar colour palette and a futuristic design to them.
This second example was extremely fun and captivating. It appears to take what you have drawn as the user and suggests what you were trying to draw. As you can see in the video I drew a heart shape and was presented with a heart shaped box of chocolates. In my second attempt, I drew the basic shape of a house and was presented with a lot more suggestions. I think this is a great experiment for those that may struggle to digitally draw or would be a good idea to be included in certain games, like Pictionary.
This experiment consisted of a video where someone is driving through West USA but the timeline at the bottom shows all the areas in which the car drives to, these can also be clicked on, skipping the video to that certain area of West USA. I found this very intriguing as the roads and area’s end up looking very different form on another.
This experiment was in the style of a game you might possibly find in a mobile app store, the responsiveness of this experiment wasn’t very good, it seemed to have loaded as a mobile web browser which left a lot of negative space but other than the sizing, it was very creative and engaging. There were levels throughout so it seems like its a game that would continue for a long period of time but in the video I only played three levels.
In conclusion, there is a lot that can be done with HTML. Looking at the difference between Codepen and Google Chrome Experiments, there is certain amount of knowledge and skills a designer would need to achieve both styles of animation. It was exciting to experiment with both websites.
References
A road trip through west USA. (n.d.) tempo-l.ch. Available online: https://tempo-l.ch/experiments/roadtrip/ [Accessed 19 Jan. 2023].
Autodraw (2019) AutoDraw. Autodraw.com. Available online: https://www.autodraw.com/ [Accessed 19 Jan. 2023].
Tilt. (n.d.) andreashackel.de. Available online: https://andreashackel.de/tilt/# [Accessed 19 Jan. 2023].
VinylAndParticles at WebGL Lab – Marco Gomez. (n.d.) mgz.me. Available online: https://mgz.me/scenes/VinylAndParticles/ [Accessed 19 Jan. 2023].